Most photographers starting out in beauty work believe that a great lighting setup and some cleanup in post-production are all they need. The reality is more nuanced. Beauty photography lighting, skin makeup and retouching form an interconnected system where each element either supports or undermines the others. Get the lighting wrong and even flawless makeup looks flat. Skip proper skin preparation and no amount of retouching recovers what was lost at the source. This guide gives you a practical, professional framework covering lighting setups, skin prep, makeup for camera, and retouching workflows so you can produce consistently polished beauty images from start to finish.
Table of Contents
- Key takeaways
- Beauty photography lighting, skin makeup and retouching fundamentals
- Skin prep and makeup for the camera
- High-end skin retouching techniques
- Integrating lighting, makeup, and retouching
- My perspective on beauty photography workflow
- Work with Kenjonesnyc on your next beauty shoot
- FAQ
Key takeaways
| Point | Details |
|---|---|
| Lighting sets the foundation | Your choice of light modifier and placement shapes how skin texture and makeup render before editing begins. |
| Skin prep prevents retouching overload | Exfoliating and hydrating 24+ hours before a shoot reduces blemishes and uneven texture that would otherwise require heavy post work. |
| Makeup must be tested for camera | Products that look great in person can cause flashback or appear cakey under studio lights without prior testing. |
| Retouch in the right order | Fix exposure and color balance before touching texture to avoid compounding errors throughout your edit. |
| Collaboration produces consistency | Photographer, makeup artist, and retoucher should agree on the intended look before the shoot begins, not during editing. |
Beauty photography lighting, skin makeup and retouching fundamentals
Professional beauty lighting is not simply about illuminating a face. It is about sculpting it. The quality, direction, and color accuracy of your light source determines how skin reads on camera, how makeup transitions appear, and how much retouching work is waiting for you in post-production.
Butterfly and clamshell lighting
Two setups dominate professional beauty photography for good reason. Butterfly lighting uses a key light positioned above and directly in front of the subject, creating a small, butterfly-shaped shadow beneath the nose. This setup elongates and flatters most face shapes, making it a staple in beauty campaigns and editorial portraits. A beauty dish ranging from 22 to 28 inches or a medium softbox around 3 by 4 feet placed 3 to 5 feet from the subject gives you that clean, controlled light pattern.
Clamshell lighting builds on butterfly by adding a fill source below the face, typically a reflector or a second light aimed upward. This second source eliminates deep shadows under the chin and nose that would otherwise appear unflattering. Without that fill, shadows appear deep and create a far less polished result. Together, the two form the classic clamshell setup that you see in most high-end beauty campaigns.
One detail many photographers overlook when positioning the key light: fix your camera position first, then adjust the light. Camera position before light placement keeps the butterfly shadow directly under the nose rather than drifting off to one side. That small habit saves considerable correction time in post.
Light modifiers and color rendering index
The modifier you choose shapes the quality of the light hitting skin and makeup. Here is a quick comparison of the most common options in professional beauty work:
| Modifier | Light Quality | Best Used For |
|---|---|---|
| Beauty dish | Semi-specular, defined catch lights | Editorial beauty, high-contrast looks |
| Large softbox | Soft, wrapping, diffused | Skin-forward campaigns, subtle makeup |
| Octabox | Even, circular catch light | Close-up portraits, glowing skin looks |
| Reflector (silver/white) | Bounced fill light | Eliminating under-chin shadows |
Beyond the modifier, the color rendering accuracy of your light source matters more than most entry-level photographers realize. High CRI lighting of 90 or above at a color temperature between 3500K and 4500K produces accurate skin and makeup colors under studio conditions. Working with lower-CRI sources means you are editing under false color assumptions from the moment you pull the files into Lightroom.
- Avoid hard, undiffused light sources directly on skin. They exaggerate pores and texture in ways that look unflattering at beauty shoot magnifications.
- Soft, diffused light wraps evenly and renders makeup finishes such as gloss, shimmer, and matte far more accurately.
- Use a gray card or color checker before shooting to lock your white balance when color fidelity in makeup is critical.
Pro Tip: Place your beauty dish just slightly above eye level rather than straight overhead. You get the butterfly shadow without the raccoon-eye effect that can happen when the light is angled too steeply.
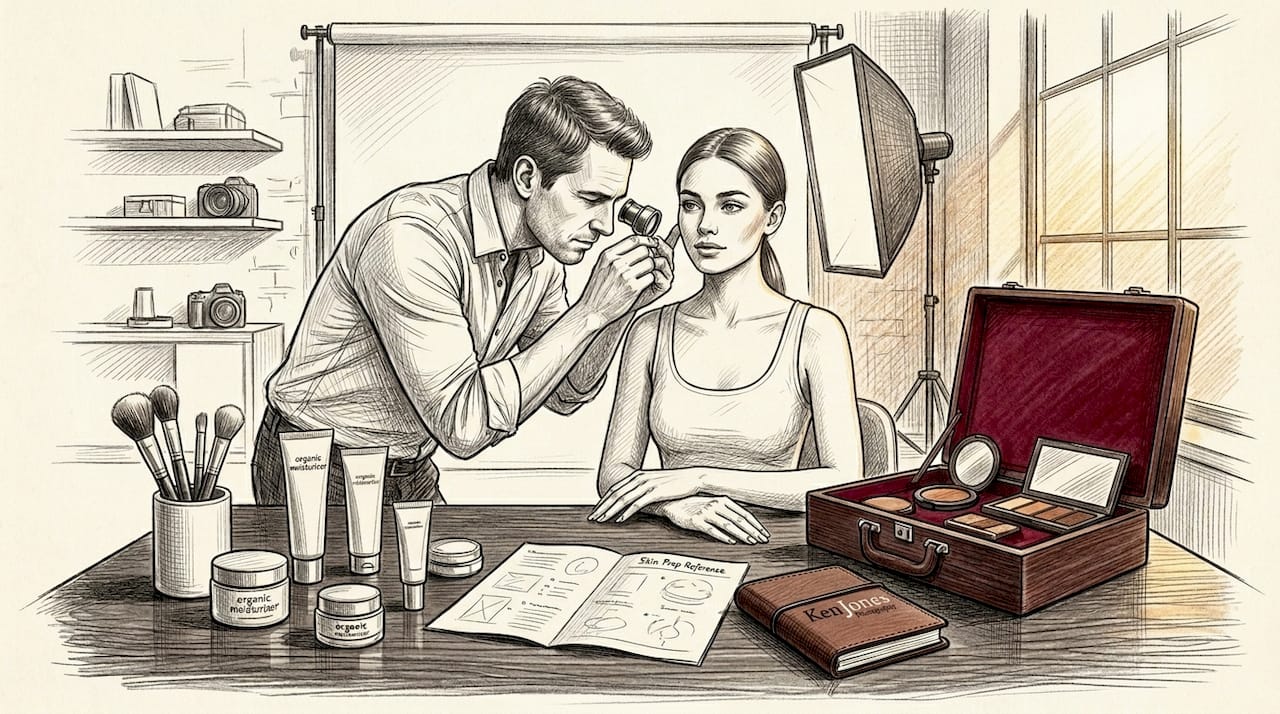
Skin prep and makeup for the camera
The most consistent professional beauty images share one characteristic: the work happened before the camera shutter opened. Skin preparation steps including exfoliation at least 24 hours before a shoot, deep hydration, and avoiding new skincare products prevent the redness, flaking, and sensitivity that add hours to post-production. When skin arrives on set in good condition, makeup applies more evenly, stays put longer under hot lights, and photographs with far less visible texture.
What to watch for with makeup and camera flash
Several makeup ingredients cause problems that only show up in photographs. Mineral sunscreens and certain setting powders are the most common culprits behind flashback, which is that white, overexposed look around the T-zone and under the eyes in flash photography. SPF ingredients cause flashback in photos, especially with strobe lighting, and should be avoided in any product applied on shoot day unless it is camera-tested.
Texture is another variable that shifts from mirror to camera. A satin-finish foundation that looks beautiful in natural light can appear thick or uneven under a beauty dish because the modifier is highlighting every surface variation. Test every product under the actual shoot lighting before committing to a full application. This single practice separates experienced beauty makeup artists from those still learning.
Here is a practical pre-shoot checklist for makeup artists working with photographers on beauty campaigns:
- Exfoliate the subject's skin 24 to 48 hours before the shoot, not on the same day, to avoid redness.
- Use a hydrating primer to smooth the surface and extend makeup wear under hot studio lighting.
- Confirm that no product in your kit contains titanium dioxide or zinc oxide sunscreen if working with flash.
- Test foundation coverage and finish on the face, not just on the back of the hand, under the actual light modifier being used on set.
- Bring both matte and luminous finishing options because light quality changes how each reads on camera.
Communication between the photographer and makeup artist before the shoot is not optional. It determines whether the retoucher spends two hours or six hours on each image. When both creatives understand the intended look, the skin tone direction, and the makeup finish before anyone picks up a brush or adjusts a light stand, the entire production moves faster and the results hold together as a cohesive body of work.
Pro Tip: Always photograph a quick test frame of the makeup under final shoot lighting before the model is fully ready. Catching a flashback issue or uneven foundation on a test frame saves you from discovering it on hero shots.
High-end skin retouching techniques
Retouching that looks natural is harder to do than retouching that looks heavy. Any retoucher can blur skin into a smooth gradient. Producing a result that looks like real, healthy skin in flattering light requires both technical understanding and disciplined restraint.
-
Start with exposure and color correction. Before touching texture, stabilize your exposure and neutralize any color casts across the image. Fixing exposure and color first prevents inconsistent smoothing artifacts that appear when you correct tone after working on texture layers. Apply global corrections in Lightroom or Camera Raw before moving to Photoshop for detailed work.
-
Remove genuine distractions, not character. Use the healing brush or clone stamp to address blemishes, temporary redness, and stray hairs. Do not remove freckles, moles, or permanent skin features unless specifically directed by the client. Natural retouch workflows focus on removing distractions while preserving the individual's actual skin character.
-
Apply frequency separation. This is the technical core of high-end skin retouching. Frequency separation splits the image into two layers: a low-frequency layer for color and tone, and a high-frequency layer for texture details like pores. You smooth uneven skin tone on the low-frequency layer using a large, low-opacity brush without touching the texture layer above. The result is even skin tone that retains visible pore detail. Use a Gaussian blur radius of approximately 6 to 12 pixels on high-resolution images when creating the low-frequency layer.
-
Dodge and burn for micro-contrast. After frequency separation, create a 50% gray layer set to Overlay blend mode. Use a soft white brush at 3 to 5 percent opacity to brighten high points and a soft black brush to deepen shadows slightly. This restores the three-dimensional quality that smoothing can flatten out. Dodge and burn is what separates a beauty retouch that looks dimensional from one that looks like it was printed on flat paper.
-
Check your work at full size and at smaller magnifications. Zooming to 100% and using low-opacity brush strokes during frequency separation prevents the waxy, plastic skin appearance that signals over-editing to any experienced creative director. Then zoom out to 25% or 50% to evaluate whether the overall impression reads as natural.
-
Sharpen selectively at the end. Apply sharpening only to the eyes, lips, and hair. Sharpening smooth skin areas reverses the work you just did and introduces grain that draws the eye to texture rather than away from it.
-
Review against the original. Do a final before-and-after comparison. If the skin looks fundamentally different from the source material rather than simply cleaner and more refined, you have gone too far. The goal is the best version of what was actually photographed, not a digital reconstruction.
Pro Tip: Keep your dodge and burn layer opacity between 3% and 8% maximum. Single strokes at those levels allow you to build up gradually rather than creating abrupt transitions that look retouched rather than natural.
Integrating lighting, makeup, and retouching
The cleanest beauty images you see in campaigns, editorial spreads, and brand lookbooks are not the result of one person working brilliantly in isolation. They come from a coordinated workflow where every decision in one area supports the decisions made in the others.
Here is how the connection works in practice. A photographer choosing a large softbox for a skin-forward beauty campaign communicates that intention to the makeup artist. The MUA then selects a foundation with a natural-to-satin finish rather than a high-shimmer product, because soft light renders shimmer as a muddy glow rather than defined luminosity. The retoucher, knowing the lighting was intentionally soft, focuses on refining skin tone rather than adding contrast, preserving the cohesive mood.
When these decisions happen in sequence rather than in conversation, conflicts appear. A heavily contoured makeup look photographed under butterfly lighting without adequate fill creates shadows on top of painted shadows. The result is confusing on camera and nearly impossible to correct in retouching without destroying the dimension the makeup artist worked to build.
A practical pre-shoot brief between photographer and makeup artist should cover:
- The lighting setup being used and its effect on skin and makeup appearance
- Whether the look requires skin to read soft and luminous or defined and high-contrast
- Whether any products in the kit could cause issues under strobe or continuous lighting
- What level of retouching is planned so the makeup artist understands how much coverage to apply versus how much will be handled in post
Maintaining color accuracy from shoot to edit requires a calibrated monitor and a color profile consistent with your camera's output. Consider this workflow for color-critical beauty work:
| Stage | Action | Why It Matters |
|---|---|---|
| Pre-shoot | Photograph a color checker card | Sets accurate white balance and color reference |
| In-camera | Use a fixed color profile (not Auto Picture Style) | Prevents color drift across a multi-hour shoot |
| Import | Apply camera-matched profile in Lightroom | Syncs your editing environment to captured color |
| Export | Export in ProPhoto RGB or sRGB based on delivery format | Prevents color shift between retouching and final delivery |
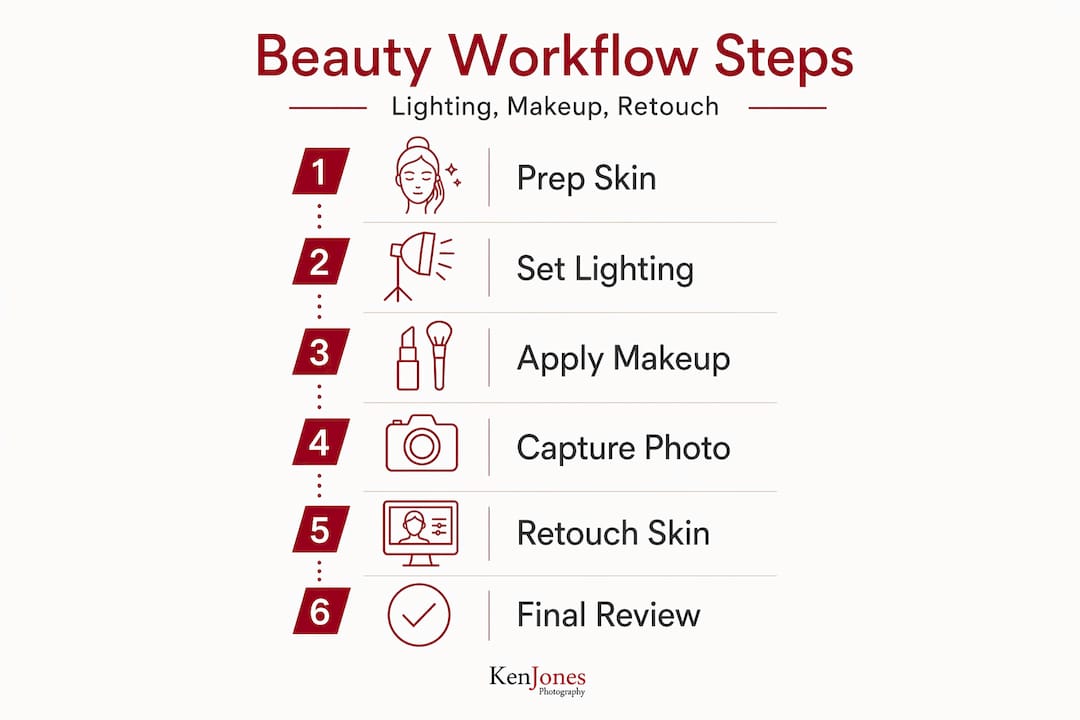
The insight that ties this together: retouching does not rescue a technically weak shoot. It refines a technically strong one. How lighting defines the final result determines how much work remains in post and how much authenticity survives the editing process.
My perspective on beauty photography workflow
In my experience working across fashion, beauty, and commercial photography in New York City for over three decades, the biggest gap I see in aspiring photographers is not technical. It is organizational. They understand lighting theory. They can navigate frequency separation in Photoshop. What they underestimate is the cost of poor communication before the shoot starts.
I have walked into shoots where the makeup artist produced a gorgeous, heavy-coverage editorial look, and the brief called for a bare-skin, barely-there beauty story. Neither person was wrong. But the result required hours of retouching to soften a makeup application that was never intended for that context. That time compounds across an entire shoot.
What I have learned is that natural skin texture, when properly lit and thoughtfully retouched, is far more compelling to creative directors and clients than the plastic perfection that characterized retouching trends a decade ago. Clients now want skin that looks real. They want to see a person, not a rendering. The photographers and retouchers who understand that are consistently the ones getting called back.
My advice for developing a consistent workflow: pick one lighting setup and master it before adding complexity. Butterfly clamshell will take you through 80% of beauty work competently. Build your retouching habits around preserving texture from day one, because it is much harder to learn restraint after developing a heavy hand. And always, always talk to your makeup artist before the shoot. Not during. Before.
If you are curious about how lighting decisions translate across different beauty and fashion editorial contexts, study real campaign work alongside your technical practice.
— Ken
Work with Kenjonesnyc on your next beauty shoot
If the workflows described here are the direction you want to take your work, Kenjonesnyc offers full studio access and production support from Manhattan's Financial District. The studio is equipped with professional lighting setups designed specifically for beauty, fashion, and commercial photography, and it is available for rental by photographers who want to apply these techniques in a properly configured environment.
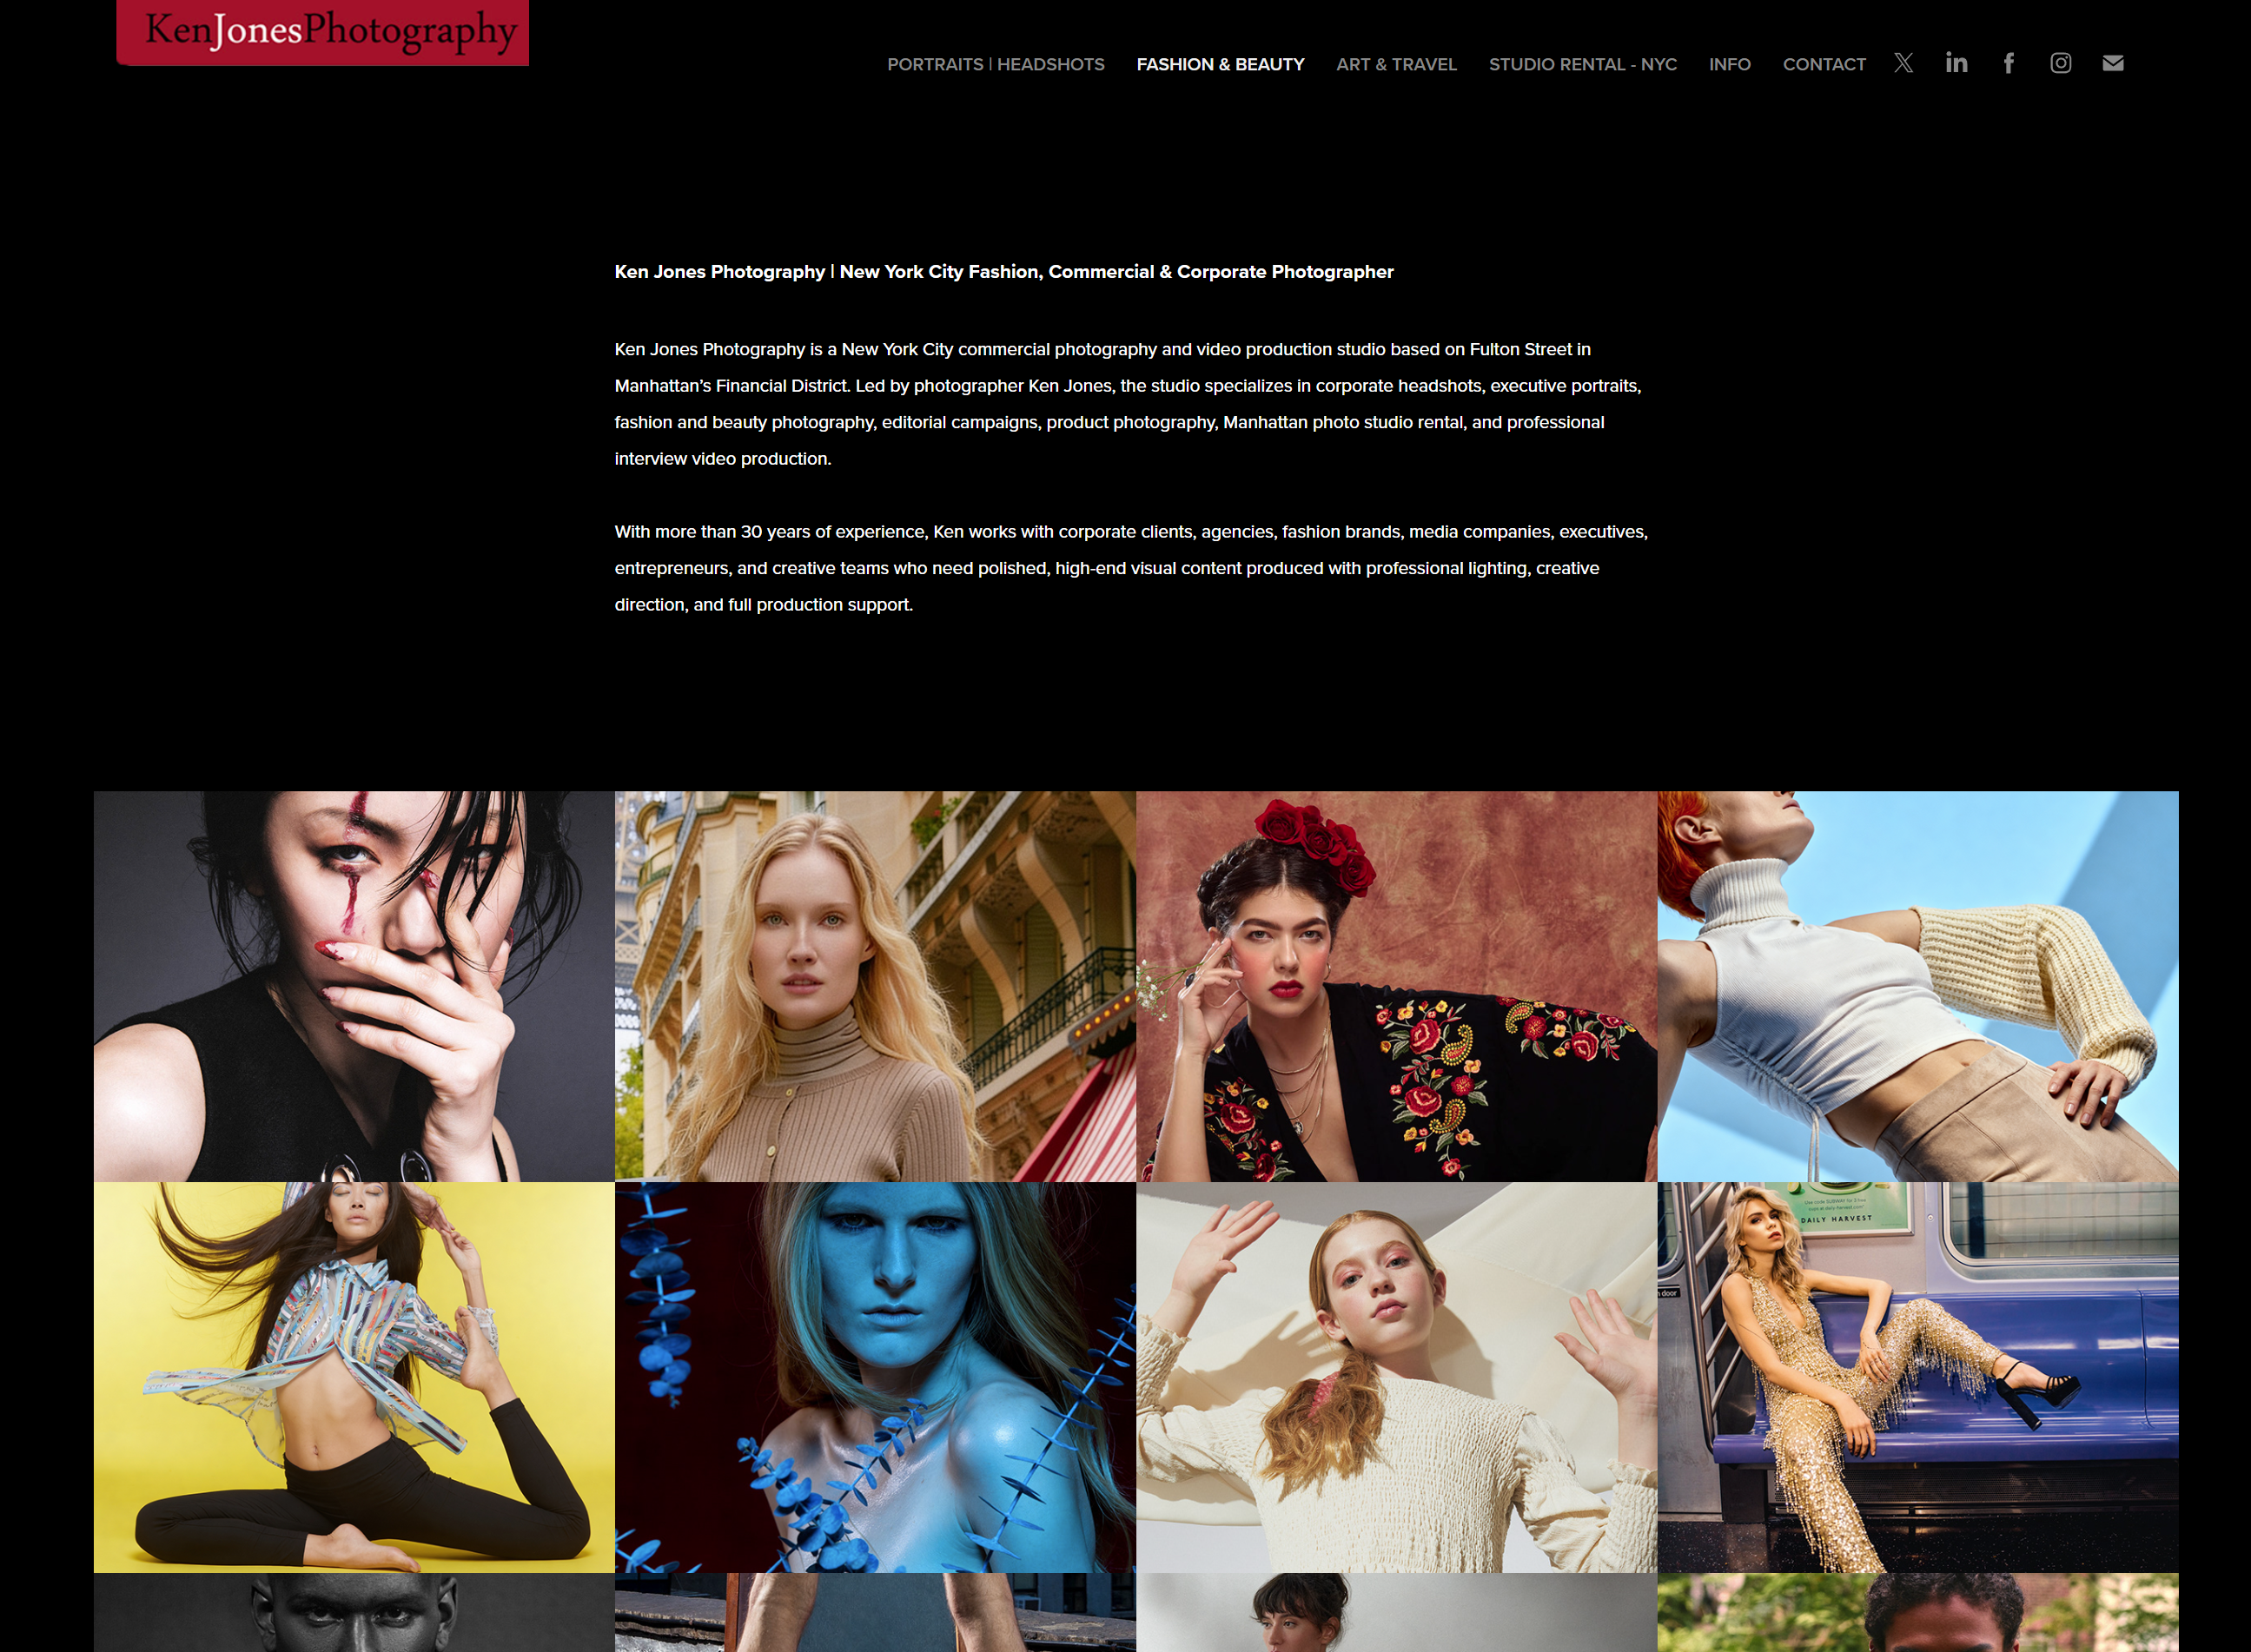
Kenjonesnyc has spent over 30 years producing high-end beauty campaigns, fashion editorials, and commercial portraits. You can review the studio's beauty editorial work and commercial photography portfolio to understand the standard of lighting and retouching the studio applies to every project. Whether you are booking a shoot, renting the studio, or looking for professional collaboration on a beauty campaign, contact the Kenjonesnyc team to discuss your production needs and schedule a consultation.
FAQ
What lighting setup works best for beauty photography?
Butterfly or clamshell lighting with a beauty dish or softbox is the most widely used setup in professional beauty photography. Adding a fill source below the chin completes the look and eliminates unflattering shadows.
How should skin be prepared before a beauty shoot?
Exfoliate at least 24 hours before the shoot, apply deep hydration, and avoid introducing new skincare products that could cause sensitivity or reactions on set.
What is frequency separation in skin retouching?
Frequency separation splits an image into two layers, one for tone and color and one for skin texture, allowing you to smooth uneven skin tone without erasing natural pore detail.
Why does makeup sometimes look different in photos than in person?
Hard light emphasizes surface texture while certain products like those containing mineral sunscreens cause flashback under flash photography. Testing makeup under actual shoot lighting before the session prevents these issues.
How do you avoid over-retouching skin in beauty images?
Work at 100% zoom with low-opacity brushes, stabilize exposure before touching texture, and always compare your edit to the original to confirm you are refining rather than replacing the subject's actual skin.
Recommended
- Ken Jones Photography | NYC Fashion, Beauty & Commercial Photographer | Manhattan Studio Rental - Hair Styling Beauty Editorial
- Ken Jones Photography | NYC Fashion, Beauty & Commercial Photographer | Manhattan Studio Rental - Environmental Headshots and Lifestyle Portraits
- Ken Jones Photography | NYC Fashion, Beauty & Commercial Photographer | Manhattan Studio Rental - Luxury Product & E-Commerce Photography
- Why Lighting Defines Fashion Photography Results