Most photographers entering fashion work assume the clothes and the model carry the image. They are wrong. Lighting accounts for roughly 75% of a fashion photograph’s success, shaping mood, texture, and visual impact before a single styling choice registers. Understanding why lighting defines fashion photography means understanding how light sculpts a subject, builds an emotional tone, and tells a story that clothing alone never could. This article breaks down the core principles, practical techniques, and real creative decisions that separate technically correct images from genuinely compelling ones.
Table of Contents
Key takeaways
| Point | Details |
|---|---|
| Lighting drives image success | Roughly 75% of a fashion photo’s impact comes from lighting, not styling or wardrobe. |
| Subject properties come first | Assess surface texture and reflectivity before choosing any lighting setup. |
| Hard vs. soft light changes everything | Hard light emphasizes texture and drama; soft light flatters skin and reduces imperfections. |
| Modifiers shape the story | Softboxes, beauty dishes, flags, and reflectors each produce distinct visual results on fabric and skin. |
| Simplicity can outperform complexity | A single well-chosen modifier often produces cleaner, faster results than elaborate multi-light rigs. |
Why lighting defines fashion photography at its core
Before discussing gear or setups, you need to understand how light physically interacts with subjects. Four properties govern every lighting decision you make: the size of the light source relative to the subject, the distance of the light from the subject, the angle of the light, and its color temperature.
Size matters more than most beginners realize. A large softbox placed close to a model produces soft, wrapping light with gentle shadow transitions. Move that same softbox far away and it behaves like a small, hard source, creating sharper shadows and more defined edges. The source’s apparent size, meaning how large it appears from the subject’s perspective, determines shadow quality.
Distance operates according to the inverse square law: when you double the distance between a light and your subject, the light intensity drops to one quarter. This is not a minor adjustment. It fundamentally changes exposure, shadow softness, and how quickly the light falls off across the subject’s body.
Lighting angle shapes three-dimensional appearance in ways that no post-processing can fully replicate. Front lighting flattens a face and minimizes texture. Side lighting pulls out fabric weave, skin detail, and structural form. Backlight adds rim separation, making the subject read cleanly against a background.
Surface properties change everything
The material you are photographing determines how light behaves on it. Consider these three surface types:
-
Matte surfaces absorb light and scatter it broadly, producing even tones with minimal specular highlights. Think raw cotton or unfinished leather.
-
Textured surfaces catch directional light and cast micro-shadows that reveal depth and detail. Tweed, lace, and embossed fabrics all reward side or raking light.
-
Shiny or reflective surfaces like satin, patent leather, or sequined garments create specular highlights. Controlling where those highlights fall and how large they appear requires deliberate light placement and often negative fill.
The Subject Centric Lighting approach formalizes this logic: assess the subject’s surface and reflection properties first, then choose your lighting configuration. Starting with the subject rather than a preset setup leads to more intentional, consistent results.
Pro Tip: Before you touch a light stand, hold your subject material under a single bare light source and tilt it at different angles. Watch how the surface responds. That five-minute test tells you more about your lighting plan than any preset formula.
Common lighting setups for fashion shoots
Understanding principles is one thing. Knowing which setups to reach for on a real shoot is another. Here are the four most common configurations used in professional fashion photography, along with when each one earns its place.
-
Three-point lighting. A key light, fill light, and backlight form the classic foundation. The key light establishes the primary shadow structure and mood. The fill light softens shadows on the opposite side without eliminating them. The backlight separates the subject from the background by adding a rim of light along the shoulders or hair. This setup produces depth and dimension reliably, which is why it remains a default for editorial and commercial work.
-
Single key with reflector. One strobe or continuous light paired with a reflector on the opposite side. The reflector bounces light back into the shadow side without adding a second powered source. This setup is fast, portable, and produces a natural, slightly asymmetric look that works well for lifestyle and editorial fashion.
-
Beauty dish setup. A beauty dish placed slightly above and in front of the subject creates a distinctive circular catchlight and produces light that is harder than a softbox but softer than a bare strobe. It flatters facial structure and is a staple for beauty and close-up fashion work.
-
High-key flat lighting. Multiple lights of equal intensity surround the subject to minimize shadows entirely. This produces the clean, white-background look common in e-commerce and catalog work. It is technically demanding to achieve true flatness, but effective for product-forward imagery.
Hard light vs. soft light: a practical comparison
| Quality | Hard light | Soft light |
|---|---|---|
| Shadow edges | Sharp, defined | Gradual, diffused |
| Skin texture | Emphasized, can reveal pores | Smoothed, flattering |
| Fabric texture | Highly detailed | Reduced detail |
| Mood | Dramatic, editorial | Clean, commercial |
| Best for | Textured garments, editorial | Beauty, skin-forward shots |
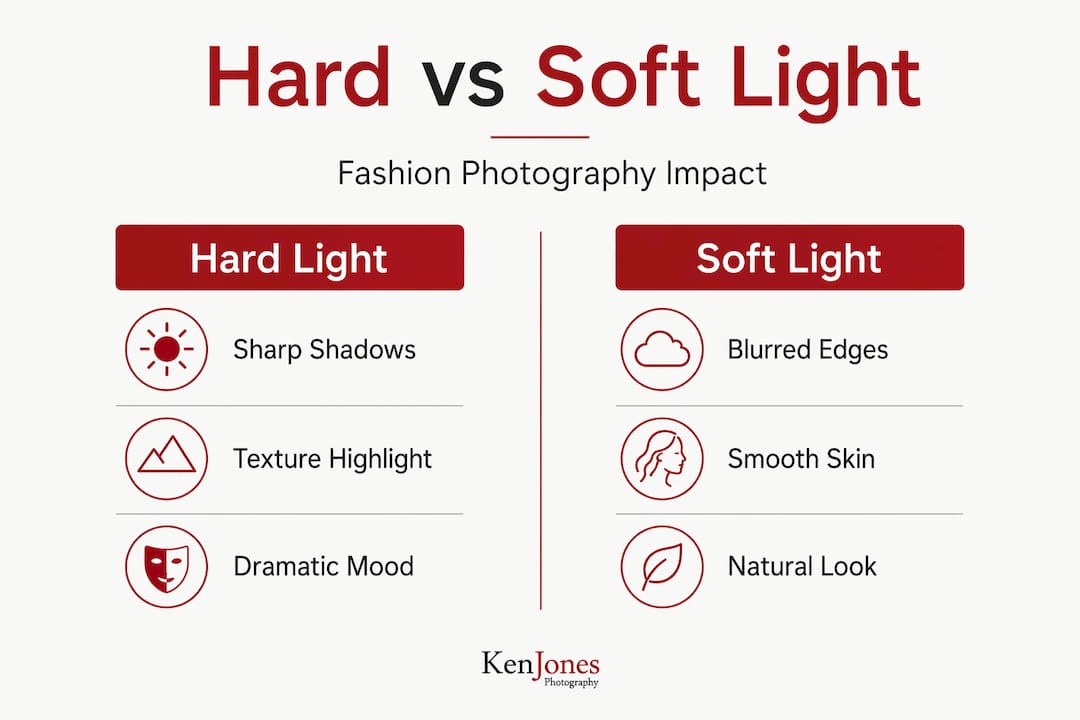
Diffused light reduces visible shadows on pores and blemishes, making it the preferred choice for portrait-forward fashion work. Hard light, by contrast, rewards photographers who want to show material quality and structural drama in a garment.
Pro Tip: Do not default to soft light because it feels safe. Hard light on the right fabric, like a structured wool coat or embossed leather, produces images that look genuinely expensive. Soft light on those same materials can make them look flat and unremarkable.
How lighting shapes mood and narrative
Fashion photography is not documentation. It is storytelling through mood and emotion, and lighting is the primary tool for building that story. The clothes provide the subject. The light provides the meaning.
Consider the difference between two approaches to the same garment. A black evening gown photographed with high-contrast side lighting reads as powerful, mysterious, and aspirational. The same gown under flat, even studio lighting reads as a product shot. Neither is wrong technically, but only one creates desire.
“Lighting is not about making things visible. It is about making things felt.”
Shadows are as important as highlights in this equation. Deep shadows create weight, drama, and a sense of luxury. Controlled highlight placement draws the eye to specific details, whether that is the sheen of a silk lapel or the embroidery on a sleeve. When you understand how lighting controls texture visibility, you stop thinking about light as illumination and start thinking about it as a compositional tool.
Here is where many photographers lose the narrative thread:
-
Overlit backgrounds compete with the subject and flatten the image’s sense of depth.
-
Uncontrolled fill light eliminates shadows that would otherwise give the image dimension.
-
Mismatched color temperatures between key and fill sources create color casts that read as technical errors rather than creative choices.
-
Flat, uniform lighting produces what critics have called “operating theatre” style images: technically correct, emotionally inert, and forgettable.
The Noirion Fashion Lookbook from Kenjonesnyc demonstrates how deliberate lighting choices build a specific visual identity across an entire editorial. Every frame uses light to reinforce the collection’s mood rather than simply exposing the garment. That consistency is what separates editorial work from catalog work.
Strong lighting decisions also protect the brand identity of the designer. When a photographer uses light to create depth and texture, the garment reads as crafted and intentional. When light is an afterthought, even well-made clothing can look cheap on screen.
Practical tools and tips for fashion lighting
Knowing the theory is necessary. Knowing which tools to use and how to position them efficiently is what makes a shoot run well. Here is a working framework for applying lighting techniques on real fashion shoots.
Choosing the right modifier
Your modifier choice should match both the subject’s surface properties and the mood you are building. Softboxes in rectangular formats mimic window light and work well for lifestyle and editorial work. Octaboxes produce a rounder, more even wrap that is flattering for beauty and skin-forward shots. A beauty dish sits between the two, offering controlled softness with more specular punch.
For garments with strong texture or structural detail, consider a grid on your softbox or a fresnel spot. The grid narrows the light spread and increases directionality, which pulls out fabric detail without requiring you to move to a harder source entirely.
Using flags for shadow control
Large blackout flags, such as 4 ft x 10 ft panels, give you precise control over where shadows fall and where light spill is blocked. Standard modifiers shape the light coming out of the source. Flags shape the light after it leaves the modifier, blocking it from hitting backgrounds, floors, or shadow sides you want to keep dark. This level of control is what separates a polished editorial image from a competent but generic studio shot.
Balancing speed and quality on set
Shooting with one versatile light modifier rather than a complex multi-source rig allows you to move faster and maintain consistency across a full editorial. When you master one modifier deeply, you can adjust quality, direction, and intensity quickly without rebuilding your setup between looks.
Here are the practical positioning principles that apply regardless of setup complexity:
-
Place your key light at roughly 45 degrees to the subject’s face for a natural shadow structure that models facial features without flattening or over-dramatizing.
-
Keep your fill light at a lower intensity than your key, typically one to two stops less, to preserve shadow depth while opening up detail.
-
Position backlights or rim lights behind the subject’s plane to add separation without the source appearing in frame.
-
Understanding subject surface qualities before finalizing placement means fewer adjustments mid-shoot and more consistent results across a full look book.
The shadows lookbook project at Kenjonesnyc shows how projected window light, a single directional source, can carry an entire studio fashion shoot when the photographer understands how to tailor light to the subject’s surface. The result is images that feel naturally lit while remaining fully controlled.
Pro Tip: Bring a small handheld mirror to your next studio shoot. Hold it at the subject’s position and angle it toward your light source. Where you see the reflection of the light in the mirror is exactly where a specular highlight will appear on any shiny surface in that same position. It takes ten seconds and saves you multiple test shots.
My perspective on lighting in fashion photography
I have spent over 30 years working in fashion and commercial photography, and the single most consistent mistake I see from photographers at every level is that they approach lighting as a setup rather than a response. They walk into a studio with a predetermined configuration and then try to make the subject fit the light. That is backwards.
The most technically skilled photographers I know start by looking at the subject. They touch the fabric, check the sheen on the model’s skin, and assess how the garment’s structure will read in three dimensions. Then they choose light. That sequence changes everything about the quality of the final image.
I also want to push back on the trend toward flat, heavily diffused lighting that has become common in commercial fashion work. Overly uniform lighting produces images that are technically clean but emotionally empty. Shadows are not problems to solve. They are part of the story. When you eliminate all shadow, you eliminate depth, and depth is what makes a viewer feel something when they look at an image.
The photographers who produce the most memorable fashion work are not the ones with the most equipment. They are the ones who understand that soft light enhances beauty but maintaining dimension requires balancing softness with specular highlights. They use light with intention, not habit. That distinction is what separates a good image from one that gets published, shared, and remembered.
Embrace complexity in your thinking and simplicity in your execution. Know why every light in your setup is there. If you cannot articulate what a light is doing, turn it off.
— Ken
Explore fashion lighting with Kenjonesnyc
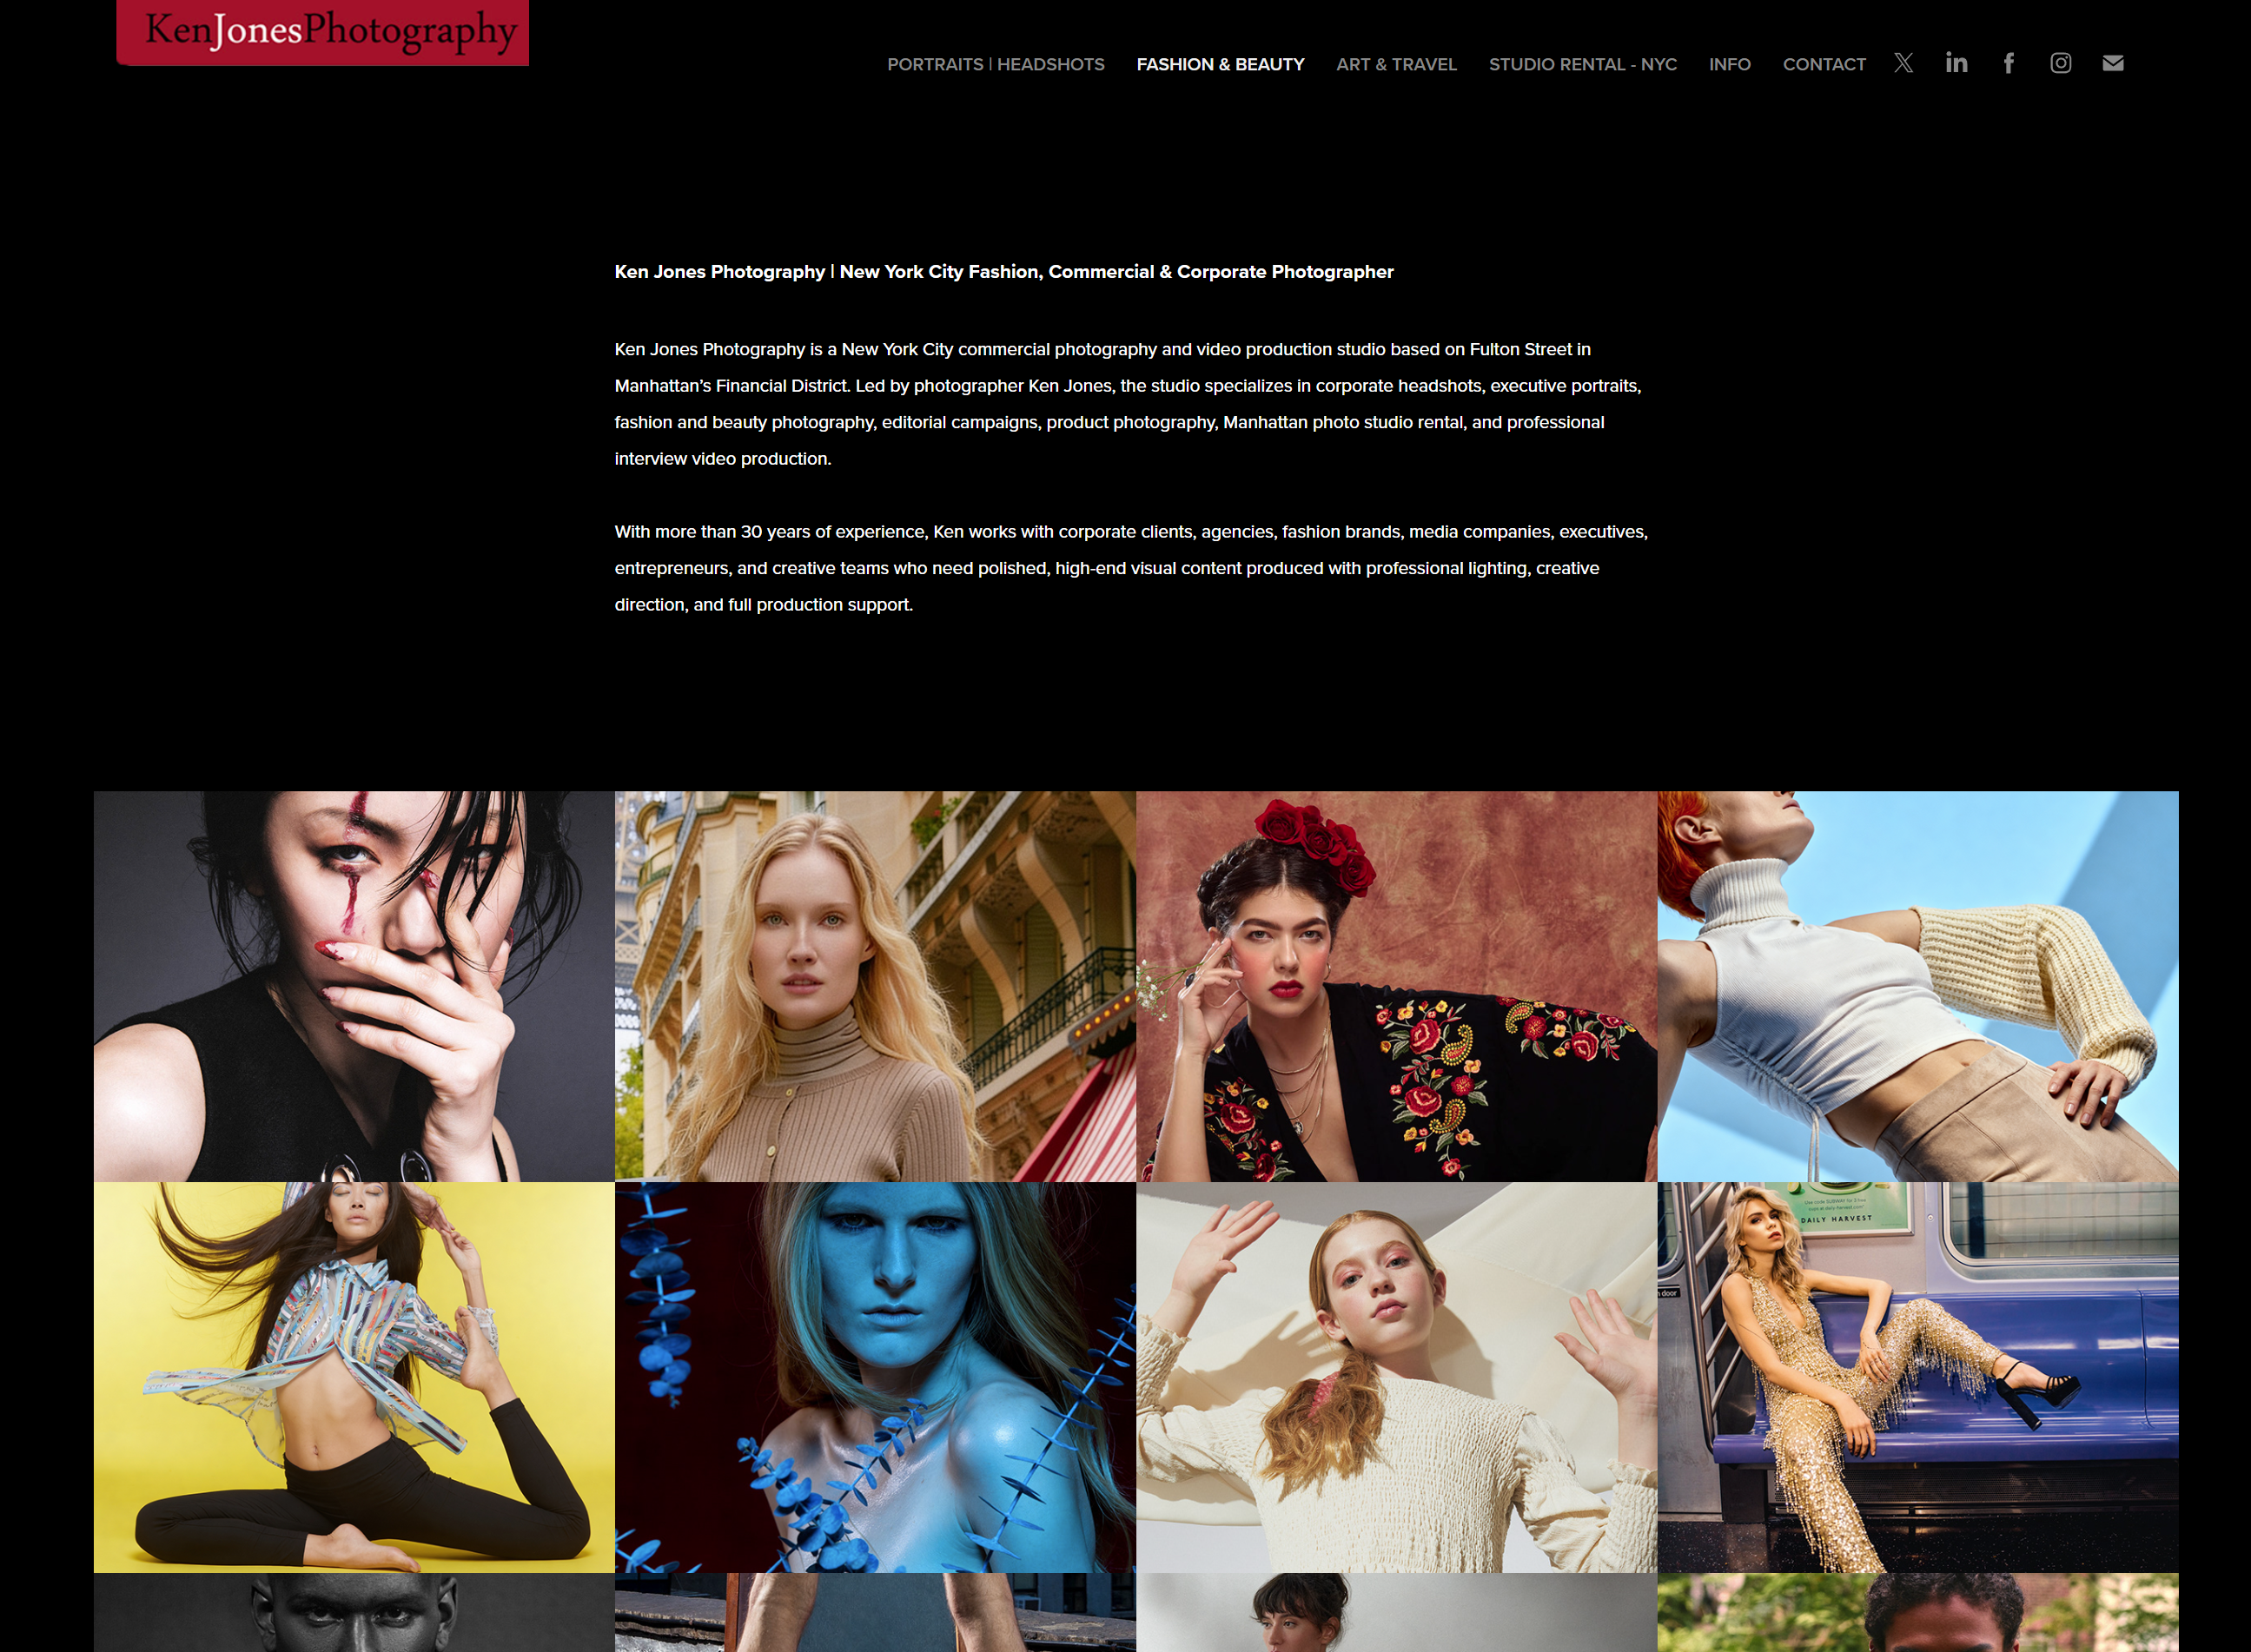
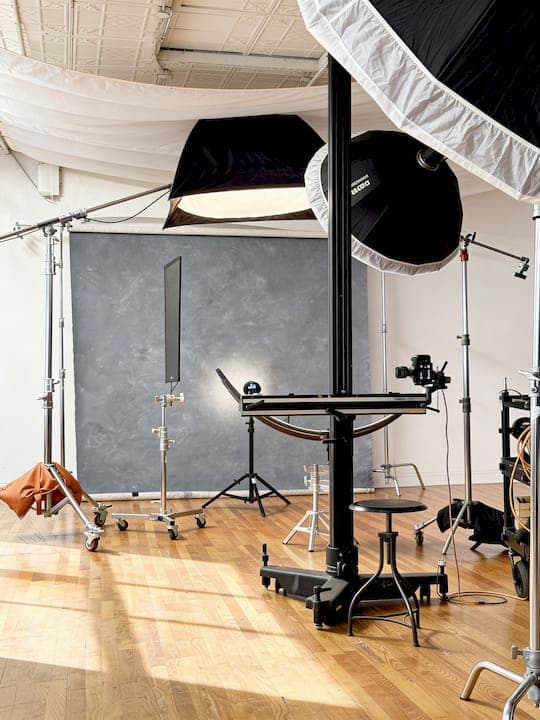
Kenjonesnyc brings over 30 years of high-end fashion and editorial photography experience to every project, from full-scale fashion editorials shot globally to tightly controlled studio beauty campaigns. The Manhattan studio in the Financial District is equipped for advanced lighting configurations, including full blackout capability, a range of professional modifiers, and flexible setups for both intimate beauty work and full-look editorial shoots.
For photographers and creative teams looking to see what deliberate lighting decisions produce at the highest level, the Fur and Lace editorial is a strong reference point. It demonstrates how lighting choices define texture, mood, and luxury across an entire collection shoot. If you are looking for a professional space to execute your own vision, the NYC studio rental provides the environment and infrastructure to support serious fashion photography work. Contact Kenjonesnyc to discuss your next project.
FAQ
Why does lighting matter more than styling in fashion photography?
Lighting determines how texture, color, and form read in a two-dimensional image. Without deliberate lighting, even exceptional styling loses its visual impact because depth and dimension are lost.
What is the best lighting setup for fashion shoots?
Three-point lighting with a key, fill, and backlight is the most reliable starting point, but the best setup depends on the garment’s surface properties and the mood the shoot requires.
How does hard light differ from soft light in fashion photography?
Hard light creates sharp shadows and emphasizes texture, making it ideal for structured garments and editorial drama. Soft light minimizes skin imperfections and produces a cleaner, more commercial result.
What are blackout flags used for in fashion photography?
Blackout flags block and shape light after it leaves the modifier, allowing photographers to control shadow placement and prevent unwanted light spill on backgrounds or shadow sides of the subject.
Can you shoot a full fashion editorial with just one light?
Yes. Shooting with one modifier and a reflector produces consistent, high-quality results and allows faster adjustments between looks without rebuilding complex multi-light setups.